
Here's The short jacket pattern for our STAEDTLER Fimo Puppen Retro Santa featured in the December 2013 issue of PolymerCafe magazine. You can find the rest of the patterns by following the link in the sidebar.
We used the same pattern for the jacket as we used to make the shirt. Following the steps in the shirt post here, will help you to draft a jacket pattern if that's all you need.

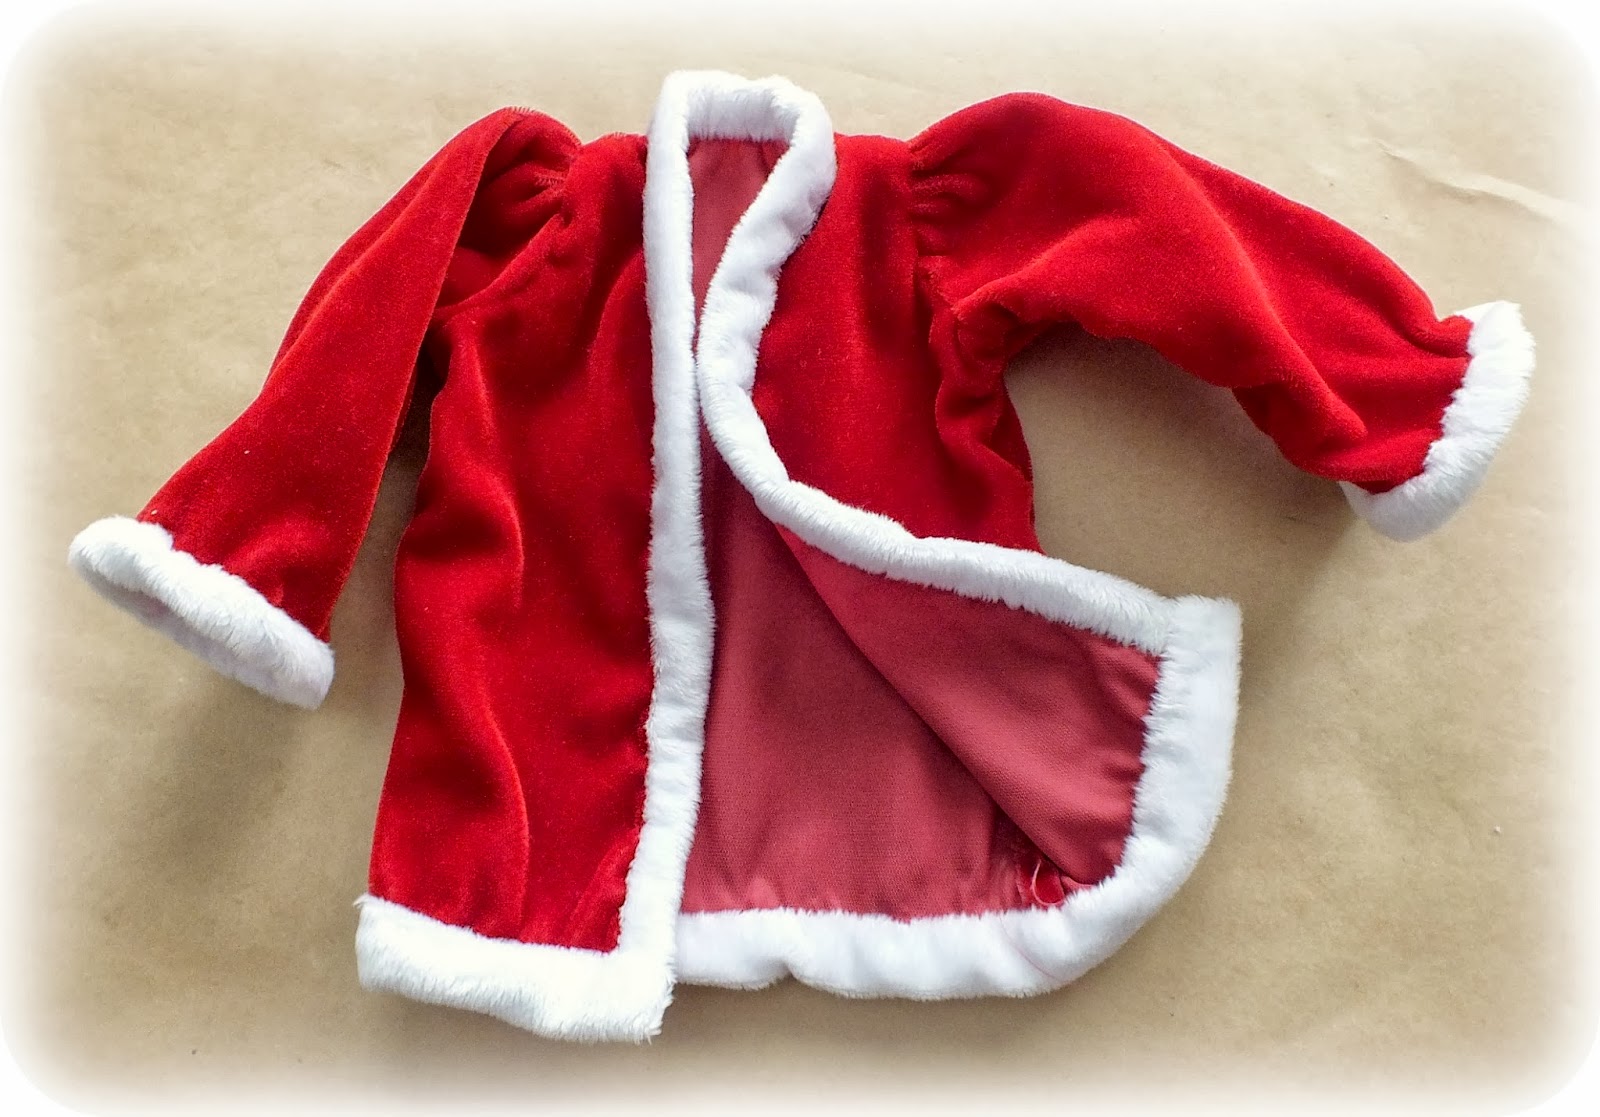
You're going to cut out two sleeves as you did for the shirt, but shorten the cuff by 3/4 inch (check new sleeve measurement on your doll), two shirt front pieces extending the side seam length to match the middle front length, straightening out the hem of the jacket. Cut out one shirt back piece and match the length of the shirt front side seam to the back side seam to flatten out the bottom hem on the back piece too. I used satin backed fine textured velvet in a traditional Christmas red to make my jacket.

Lay the jacket front pieces onto the jacket back piece right sides together and stitch the shoulder seams using a 1/8th inch seam allowance.

Run two gathering stitches along the top edge of each sleeve piece. Starting and stopping where the corners start to round.

Gather up the threads on the sleeve tops and match them to the arm hole openings. Pin in place and stitch using a 1/8th inch seam allowance.

Pin front to back under arm/side seams right sides together and stitch them using a 1/8th inch seam allowance.

Trim the sharp point off the neck edge so you have a continuous curve from hem edge, up the front of the piece, around the neck, back down to the opposite hem edge without any points. Follow photo above.

Measure from the front hem to the center back seam. Mine is roughly 9 inches.

Cut a piece of white micro fur that is as long as your front measurement doubled, by two inches. Mine is 18 inches long by 2 inches.

Pin the micro fur piece right sides together, to the front edge of your jacket and stitch using a 1/8th inch seam allowance.

Turn the extra fur to the inside of the jacket encasing the seam. Stitch this rolled edge in place taking care to hide your stitches.

Do the same thing for the bottom edge of the jacket. Finishing off the front edges as shown.

Add some fur cuffs using the same technique.


We'll be adding the Hooded cloak pattern very soon!
Can't wait to see what you all come up with!
No comments:
Post a Comment