

Things you'll need to make the Retro Deer Barrette:
STAEDTLER Karat Aquarell (watercolour) pencils
STAEDTLER Fimo liquid deco gel
STAEDTLER Fineliner 0.7 black
pencil and eraser (if drawing your own design)
Printer (if using mine)
medium soft bristle brush
water
Fabri-tac glue
black felt
green velvet ribbon about 2cm wide
red smallish beads
green sequins
thread and small eyed needle
pinking shears
brooch back or hair clip

Here is my set of 36 STAEDTLER Karat Aquarell pencils. I know eh? Pretty awesome! :D

I sketched out a deer and use a STAEDTLER Fineliner 0.7 in black to define the lines. Then I erased the pencil.

Here's the deer line drawing just in case you would like to use this instead of drawing your own.
Print the deer out to whatever size you would like it to be and trace over the lines using the Fineliner.
Print the deer out to whatever size you would like it to be and trace over the lines using the Fineliner.

I picked out the Aquarell pencil colours I wanted to use and coloured along the inside of the lines leaving the middle of each shape free of colour.

Using a soft bristle brush I used plain water to spread the colour around inside each shape. I tried to keep the areas that would catch more light, lighter that the edges.

I filled the iris and the inside of the bow with black Aquarell pencil and blended it with a damp brush also. I used the black last so I wouldn't muddy the other colours if I accidentally hit it with my wet brush.

I outlined just inside the edge of the deer and bow with STAEDTLER Fimo liquid deco gel and then flooded the middle to create a pool of Fimo liquid just on top of the drawing. Find a spot close to the oven to do this and make sure the oven is preheated to 265 degrees before you start. The Fimo liquid is self leveling and will run past the edges pretty quickly if left uncured too long. Bake the piece for 20 minutes and allow it to cool.

Using a craft knife I cut the deer and bow off of the paper background. It's ok if some of the Fimo liquid ran over the lines. Just cut through the baked Fimo with the craft knife.

Cut out a piece of black felt with pinking shears that is roughly the shape of the deer. I made a paper template by tracing a quarter cm around the deer.

Use fabri-tac to glue the deer onto the felt piece and let it dry while you gather the ribbon, beads, thread and needle to finish the piece.

Use the fabri-tac to glue the ribbon around the back of the piece in a pleated halo. Try not to get any glue onto the front of the ribbon or felt.

Thread a needle with thread that matches the beads or the felt you have chosen. I sewed on a sequin and then a bead over the top. I made little clusters of these sequin bead pairs around the edge of the deer on the felt border. I tried not to make the clusters even.
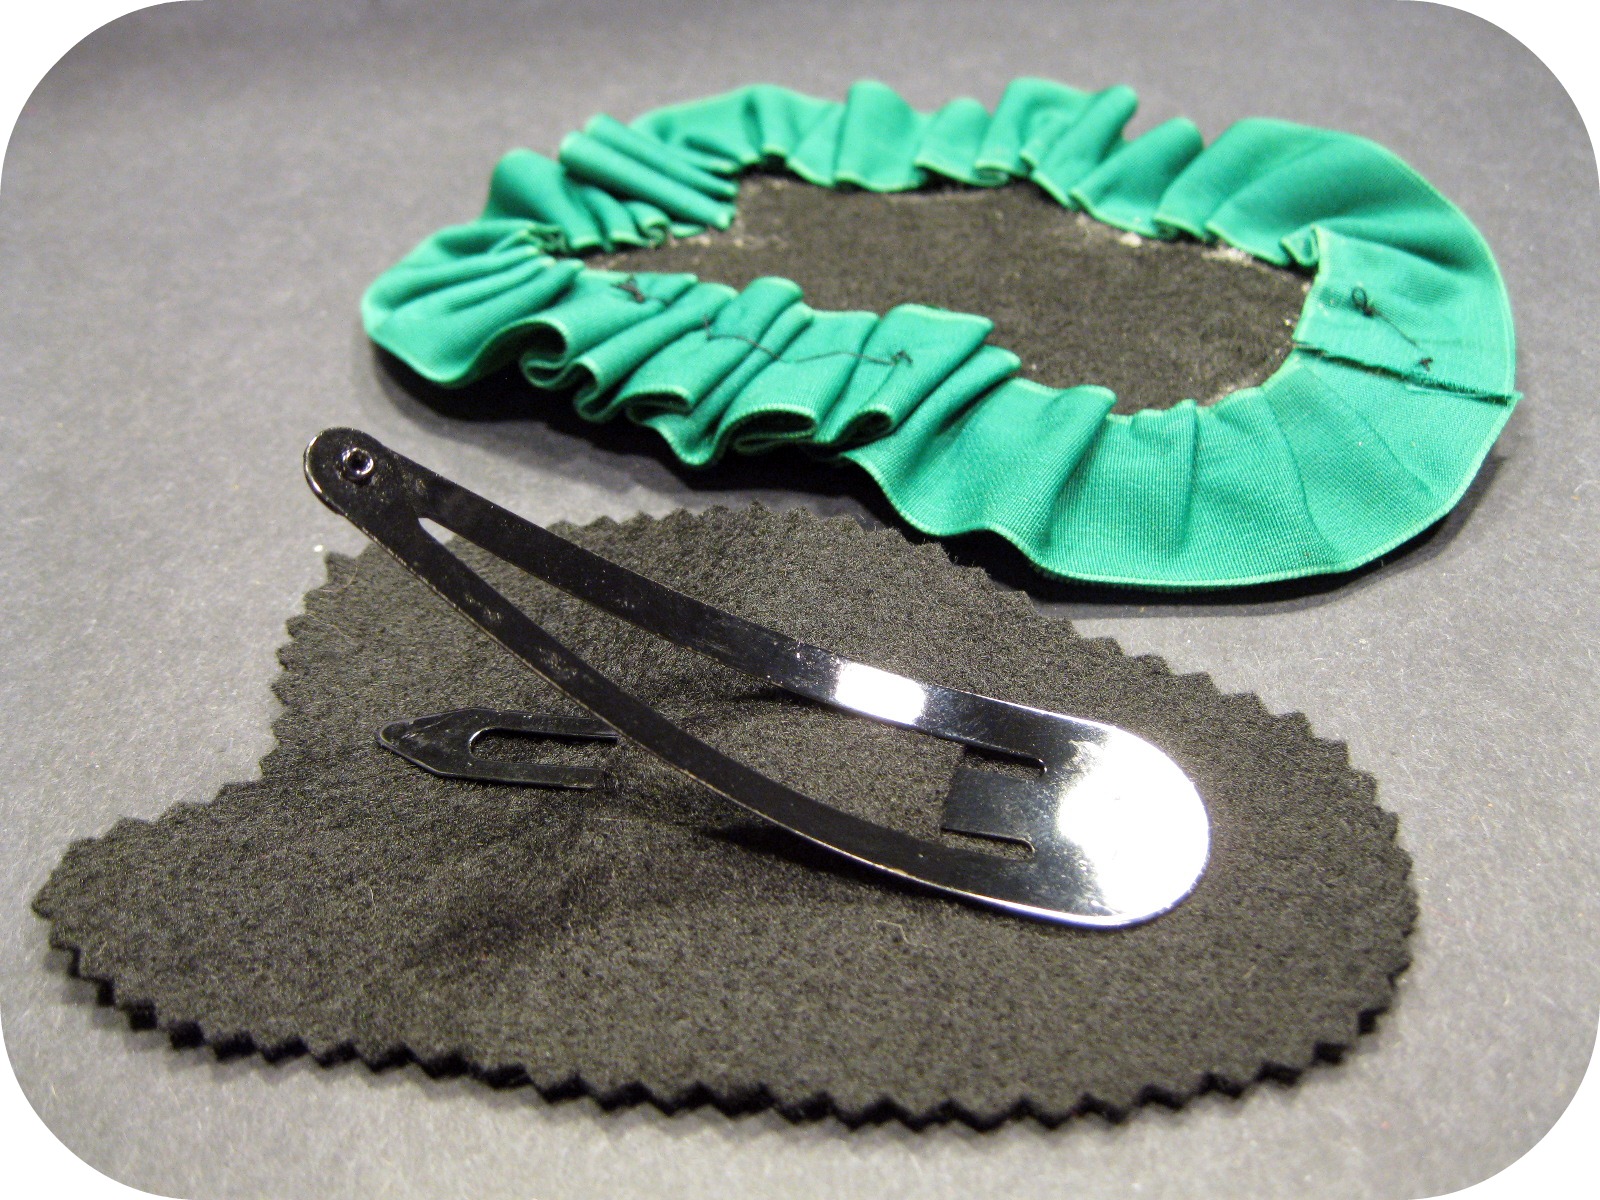
Cut another piece of felt using the pinking shears roughly the same size and shape as the first. Cut two slits into the middle of the piece to accommodate the hair clip or brooch back that you are using. Poke the working bits of the brooch or hair clip up through the holes. Glue the piece of felt onto the back of the deer ribbon.

I love playing with these products!!!
The Karat Aquarell pencils have a huge amount of pigment. A teeny line of colour will fill a surprisingly large area once washed over with a soft brush and some water. And the Fimo liquid deco gel has been a favorite of mine for ages. Using it to coat this drawing has made this piece what my daughters used to call forever art. I can wear this out on the most blustery day and not have to worry about it being ruined by snow.
Let me see what you come up with by linking in the comments.
These will make great gift toppers this year.