It has been pointed out to me that there are a bunch of folks reading my blog who may just be trying STAEDTLER Fimo polymer clay for the first time. I would like everyone to see how easy and fun it is to be able to make your own beads. If you already know how to make basic beads I have also included a technique for colouring translucent clay that you might not know about.
Here goes!
Materials:
1 56G block of STAEDTLER Fimo effects colour # 014 translucent
Tools:
A rolling tool or a piece of plastic pipe for flattening the clay
Skewers for poking holes in the beads
Cutting tool
a clean protected work surface
an oven
a non food use baking tray
I started by cleaning my hands and work surface. I also covered my work area with a sheet of parchment paper. When I work with light colour clay I take extra care not to contaminate the clay with swirls of dirt. Light clay acts like a dirt magnet and it will pick up oils from your skin and dust from sweaters. A little bit of prep to your work area will keep the colours much truer.
I conditioned the clay by warming it between my hands and kneading it for a minute or two to make it more pliable.
I rolled the clay out to a 1/2cm sheet.
I'm kind of in love with my Marsgraphic jr watercolour markers right now and have been using them for everything.
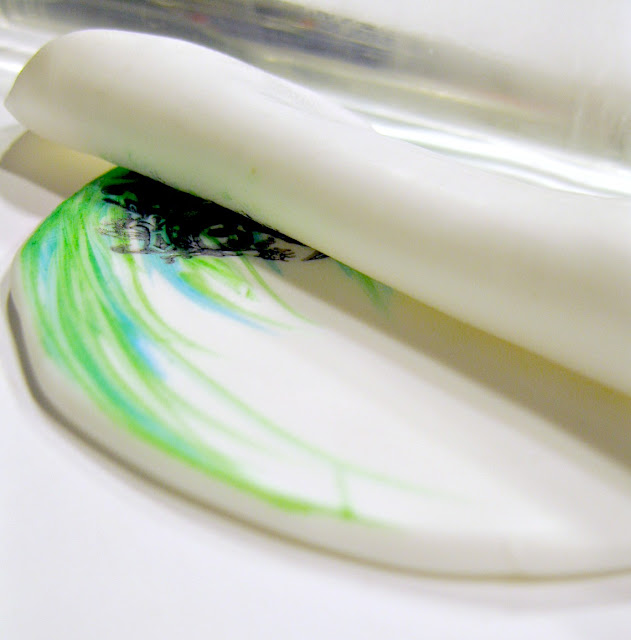
I decided to try to add some colour to my translucent Fimo by colouring on it with the markers.
I even coloured a stamp with a black marker and transferred the image onto the clay to see if it would make a difference to the blended clay. It didn't. It was a very cool effect though and I'll experiment with that more later.
I covered the coloured clay sheet with an even thinner sheet of translucent clay. I rolled over it a couple of times with my rolling tool to get rid of air bubbles.
Next I rolled the clay up into a worm shape and twisted and re rolled it until I had a marble swirl effect. happening.
Next I made a 1cm thick worm out of the swirly clay and cut sections from it that were about 1cm long.
I rolled the clay sections into little balls and poked the sharp end of a skewer just through each ball.
Pull the skewer out and put it back through the other side of the bead. Double poking the hole helps keep the beads roundish shape. Poking through one side only tends to make teardrop shaped beads...... they're cool too but they're not what I was going for here.
I loaded a bunch of beads onto each skewer leaving about two cm clear of beads on each end of the skewer. I put the bead load skewers cross ways onto a baking sheet so the skewer sits on the edge of the tray suspending the bead over the middle of the baking sheet. You can use some kind of tin foil contraption to hold the skewers up if the tray is too wide. Basically what you need to do is to make sure the beads aren't touching any surfaces while they bake. If the beads rest against the baking sheet they will have a flat side.
Bake in a preheated oven set to 260 degrees for fifteen minutes and allow them to cool.
I really like these beads. They're quick and easy to make. It's a cinch to match an outfit. Before you know it you'll be over run with beads! You'll have to call in the Girl Scouts to help you use them all up.


