Sunday, January 4, 2015

A Fair Aisle Squirrel Grid

We had a seriously terrific 2014. Mercedes moved back to our home province after two excruciating (for us, not her) years across the country. We had the best vacation EVER to a castle in France. Maggie and Austin gave us our grand baby Lily. (Still can't believe she's here!) and I have a very successful operation that ended ten years of pain. Here's hoping your slipping into 2015 with as much happiness and comfort as we are experiencing. I really don't know how the new year will ever hold up to the last.

Here's a bit of what we've been up to.

Loads of cuddle time and knitting. I'm working up some squirrel and acorn fair aisle vest grids. I'm using my STAEDTLER ergo soft pencil crayons to get some colour ideas. More on that later.

Lily is growing like a bad weed. It's all I can to to keep her in slippers!


The latest Lily foot coverings are plain old granny slippers with pomp poms.


Monday, December 22, 2014

A Warm Glowing Snow Couple

Here's our version of snow people ornaments. We added a dollar store round glass votive holder as a base and we had glowing figures that stand on a shelf. They're a quick last minute project that's made from readily available supplies. Great present for Grandma or Auntie who has everything.


Make a ball of white STAEDTLER Fimo soft that will fit on top of a clear glass ornament.My snowman heads are about 1.5 inches. Push the ball onto the top of the glass ornament gently to create a guide. Use this guide to core out extra clay so the head will fit onto the ball.


Use black and tangerine Fimo to create faves and a carrot nose to decorate the heads.


Use some brown Fimo to make twig like arms for your snow people.


Place the arms onto the balls for baking. I use a tuna tin filled with rice to hold the balls while I work on them and for baking.


I added some Fimo hats, scarves and accessories to my figures and baked them in a preheated 260 degree oven for twenty minutes. I turned off the oven and opened the door and let the pieces cool right there in the oven.
I added some glitter with white glue to some of the baked accessories.


They're pretty cute as is but I thought we could do better.


I mixed equal parts white glue and water together then coated the inside of the glass balls and round votive holders with the water glue mixture. Then I sprinkled some snowy glitter into the balls and votive holders. I rolled them around until everything was coated in a glittery layer of snow.


They looked like this when they were still wet but dried to a clear glassy glitter. Then I used the white glue to glue the heads on and secure any of the accessories that had popped off after baking. Set the pieces aside to dry. After they have all dried you can place a battery operated votive into the votive holder and put the decorated ball onto it. The whole figure will glow! Way better than just a plain tree ornament!


Sunday, December 21, 2014

Christmas Tags 2015

We're pretty pleased with our Christmas tags this year.

Say Hello to the merriest bunch of assholes this side of the nuthouse!
We adjusted a bunch of head shots with Picmonkey and cut them out. All parcels are wrapped exactly the same with candy cane paper and green snowflake ribbon. There are no from tags, only these bobble head tags to show who the gifts are intended for. I have to admit, it's a wee bit unsettling sitting beside the tree with all these little faces grinning at me.

Hope your Holidays are just as fantastically full as ours.

Saturday, December 20, 2014

Sand Dollar Ornaments with STAEDTLER Fimo Air Light

We made some pretty beachy sand dollar ornaments with STAEDTLER's Fimo Air Light.
They were so fast and fun to make that we wanted to share them with you for Christmas!


They're spectacular on our turquoise tree.


I made 2.5 inch discs of Fimo Air Light and thinned out the edges. Using the tip of an old pen I made five irregularly spaced holes around the edge of each disc.


I used the tip of the old pen again to etch a flower shape shallowly into the center of each disc.


I let the sand dollars dry for a day on some wax paper,turning them once while they dried so the backs would get some air too.


I painted to edges with white glue and added sparkles.


Some very thin metallic floss tied through one of the holes makes a very pretty hanger for these delicate looking sand dollars.

More to come before Christmas!!!
Hope you're all having a cozy season.


Monday, December 15, 2014

Working On Christmas

Busy as a bee. We're working away on all kinds of Christmas presents around here. 


More project tutorials are on the way. Just have to clear some time on the gift making schedule to get them photographed for you.

Hope your gift making is going well.

Tuesday, December 2, 2014

More Lily Booties

Lily sure won't run out of knee high booties any time soon. This vintage pattern is so fast and easy to workup, I can have a pair done in a day or two. I think our favorite pair so far are the baby Jane shoe pair. She'll be able to wear those with everything!


Here's the pattern for anyone who needs to have these little bits of comfy goodness made up for Christmas.
Happy knitting!

Monday, December 1, 2014

Ahhhh, The Choices.

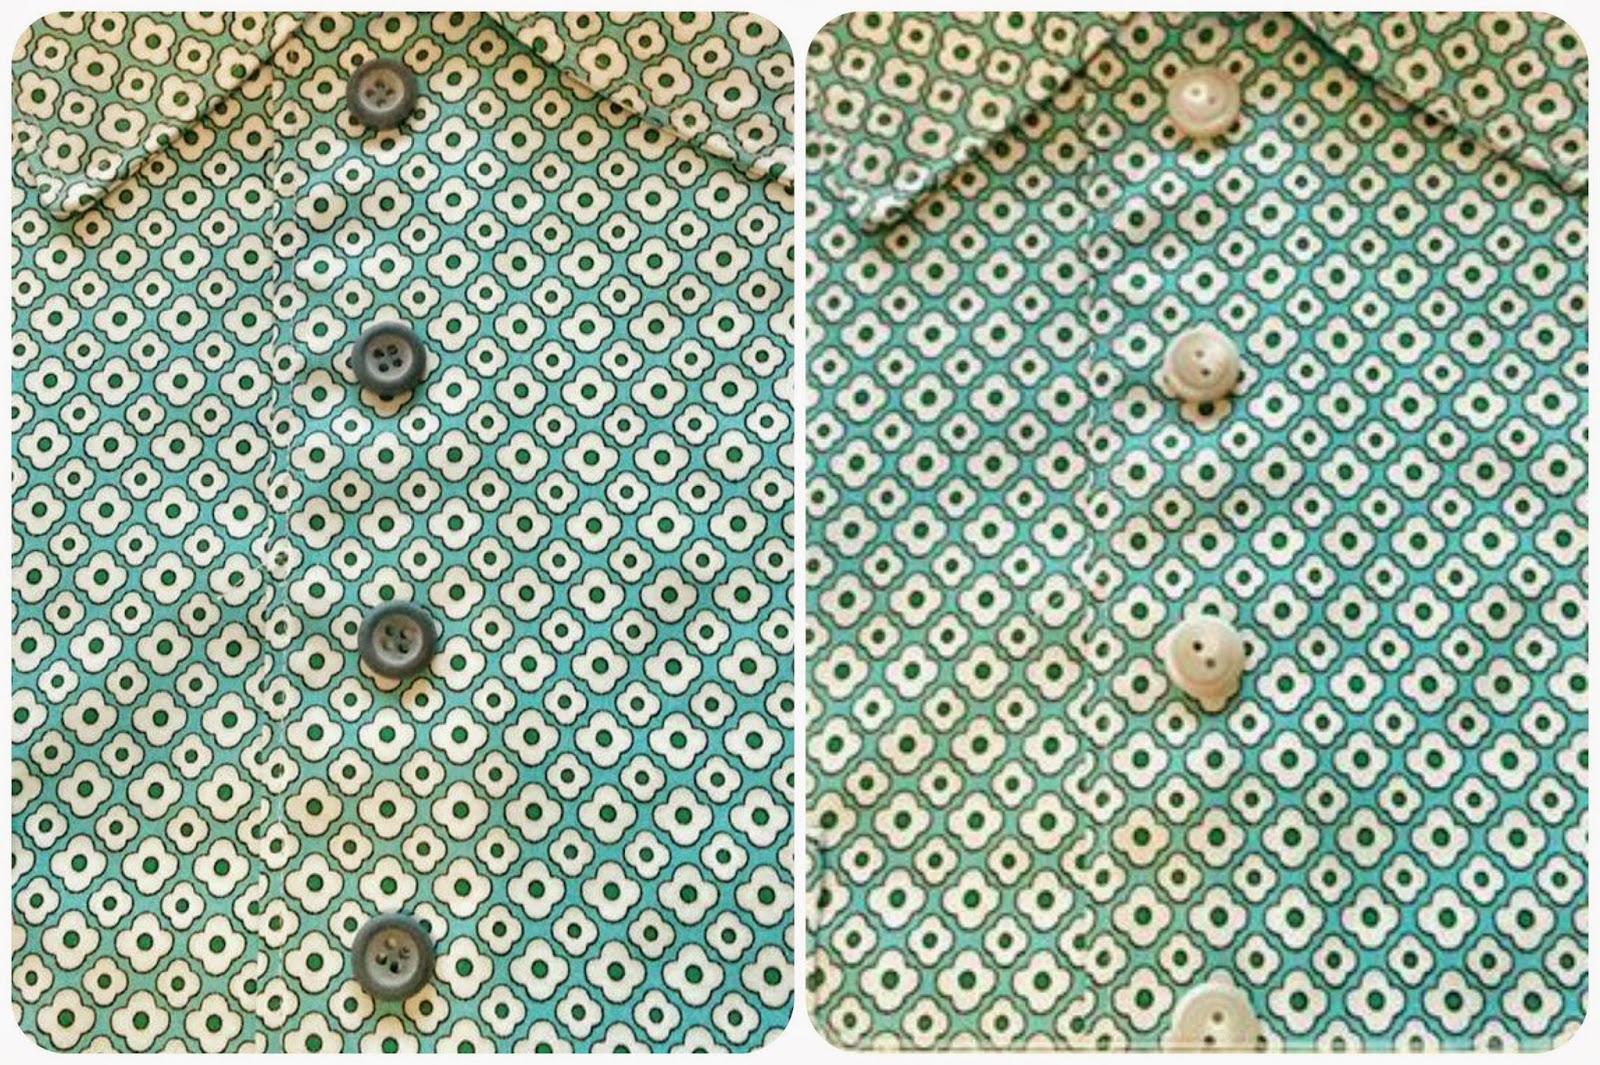
It was Mr. Jimmy's Birthday last week and we made him a birthday shirt. 

He picked out the fabric and we shuffled through the button stash to find some buttons to finish the shirt. Having such a problem deciding between the grey ones and the cream ones.


We used the usual Simplicity 4760


He also got the traditional meat cake!
Happy birthday Sir!

Wednesday, November 26, 2014

Glowing Mushroom Mood Light Full Tutorial

I've been asked to share a piece that was published a few years ago so folks across the pond could make them. I loved making these glowing mushrooms and hope you do too!


The mycena lux-coeli mushroom grows in Japan. It is a bio-luminescent mushroom that blooms during rainy season and only shows for a few damp days. I wanted to try to keep this very cool glowing mushroom around a little longer, so I decided to make it from Fimo effects clay and add a little battery power to help it out.  

Things you will need to make the mushroom night light:
STAEDTLER Fimo soft and effect one 56g block of each in the following colours:
                Translucent red # - 204
                Translucent # - 014
                White# -0
                Caramel # - 07
                Night Glow # - 04
One piece of driftwood roughly 12in x 5in x 4in
Micro lamps 12V – 60 mA – wire terminal base you’ll need one bulb for each mushroom I show five.
9 volt battery holder – you’ll need three, and screws to attach them
Battery snap connectors with colour coded wire for 9 volt batteries – you’ll need three
Electrical tape
9 volt batteries – you’ll need two
Micro mini toggle switch (if you want to switch your glow on and off instead of unhooking batteries)
22 gauge hook up wire

Tools needed to complete this project:
Wire cutters
Double round nose pliers
Wire strippers
1/8th in wooden dowel 
Drill and drill bits I used a 3/16ths inch bit
Screwdriver
Oven
Clay roller or pasta roller for clay
Soldering iron and Flux solder (optional)

Tuesday, November 25, 2014

First Baby Dress New Look 6171

Been working on some baby sewing this week. We decided Lily needed a few more dresses so we went looking in our stash for patterns and some fabrics to make a test dress out of. This is the result.


I found this new look pattern in the pattern cupboard and it looked about right. I also found some sheet remnants I used to make this dress for myself a while back.Love the soft pink floral and the wash-ability of this fabric.


I changed the pattern a bit. I made a neck facing.


I added tucks to the top of each sleeve opening. You can see here that the sleeves are a bit big.


I drafted a collar as an afterthought. I just sewed the collar on top of the neckline.


I added some vintage lace. It's handmade and taken from the outside edge of a thrifted doily. The doily was stained and had moth holes so I couldn't salvage much else.


I also decided to use buttons instead of a half zipper and I shortened the skirt length by almost half. Pretty good for a pattern test. I'll have to re-adjust the neck opening, it gapes a bit on Lily. Maybe sewing the collar in correctly will fix the problem. We'll make the real dress, from fabric Maggie designed, next. Can't wait to work on more projects now that I'm beginning to feel stronger.