Tuesday, May 21, 2013

Black Bird Beads

Another project for the Sweet Summer Blog Hop with
I love how the dark STAEDTLER fimo shows off the Stampendous glitter in this piece.
Don't forget to join this blog and leave a comment on this post for your chance to win.


To complete this project you will need:
Stampendous Encrusted Teal Jewel kit embossing powders and glitters
Opaque blue ink pad
Rhinestones
Super glue
Silver coloured jewelry findings, chain, jump rings, lobster claw, head pins, silver coloured 22 gauge wire.

Tools you'll need to complete this project:
Home oven
Parchment paper
Water in a spray bottle
Rolling pin for clay use only
Craft knife
1 inch round clay cutter
Pack of round toothpicks
Three in one jewelry pliers, double round nose, flat and wire cutters.


Roll out some STAEDTLER fimo soft black clay to about 1/4 inch thick and sprinkle with an assortment of Stampendous glitters and embossing powders.


Roll over the glittered clay with the clay roller.


Use the round clay cutter to cut out circles from the pressed and glittered clay.


Sandwich a piece of wire between two glittered circles pressing firmly to create a solid bead. Rub the edge seam with your fingertips to seal the join.


I dusted one side of each bead with more embossing powder.


I made small ball beads by rolling some black clay balls in the excess glitter and embossing powder. Then I poked a hole in each bead with the wire.


I made a 1 1/2 by 2 inch flat bead poking a hole through the top of the piece from side to side. I loaded one of the teeny bird stamps found on the  Stampendous Charm Set Perfectly Clear Stamp Set with an opaque blue ink and pressed it into the clay bead to make an impression on the beads front.


I added some turquoise detail embossing powder to the stamped image and brushed away any surface powder.


I loaded one edge of the focal bead with some aged teal embossing powder and baked the beads on a 230 degree oven for 20 minutes on a parchment paper lined baking sheet. Allow the beads to cool completely before handling.


Put each bead onto the end of a toothpick and dip into the STAEDTLER fimo gloss varnish. Poke the other end of each toothpick into a large piece of styrofoam to let the beads dry. Check in a few minutes to dab away any varnish drips.


Here's a tutorial on how I make my head pins and eye pins to make this piece.


Don't forget to join this site by clicking the link at the very bottom of this page and leave a comment on this post for a chance to win this wonderful STAEDTLER Sweet Summer Giveaway collection at the end of the week.
Giveaway open to residents of Canada and the US only.

GIVEAWAY CLOSED!

 The “Sweet Summer” Giveaway includes the following:


Visit and leave comments on this Tuesday's Blog hop posts for a chance to win even more:


Monday, May 20, 2013

Fit for a Queen

The STAEDTLER, Stampendous blog hop begins!!!


To complete this project you will need:
Stampendous Encrusted Teal Jewel kit embossing powders and glitters
Clear ink pad
Rhinestones
Super glue
Copper jewelry findings, chain, jump rings, lobster claw, copper head pins, copper 22 gauge wire, crystal faceted beads, 

Tools you'll need to complete this project:
Home oven
Parchment paper
Water in a spray bottle
Rolling pin for clay use only
Craft knife
Medium grit nail file
Drill with fine drill bit
Three in one jewelry pliers, double round nose, flat and wire cutters.

Open your STAEDTLER fimo effect translucent clay and working on a parchment paper protected surface, knead the clay until it's soft enough to roll out to a 1/4 inch thick sheet.


Open your Stampendous crown stamp and mount the crown of your choice onto the clear block. Mist the rolled out clay with the water bottle and press the stamp into the clay until you get a clear impression. The water will act as a release agent and help the stamp come away from the clay cleanly.


Use the craft blade to cut away the clay around the stamped image.


Keep the edges as neat as you can. Use a toothpick to help clean up any tough bits if you need to. Bake the piece in a preheated 230 degree oven for 20 minutes on a parchment lined baking sheet. Let the piece cool before moving to the next step.


Load the crown stamp with clear ink and stamp onto the baked clay crown. Load the inked crown with the aged teal embossing powder from the Stampendous encrusted jewel teal kit. Shake off excess powder onto a clean sheet of paper and return the extra powder to the container. Bake the piece in the preheated 230 degree oven for another ten minutes and allow it to cool before handling.


I sanded the surface of the piece with a medium grit nail file to bring out the detail of the stamp and distress the embossing powder,

Re-stamp the piece with clear ink. I made my new image slightly to the left of the old image. Load the piece with aged copper embossing powder from the Stampendous encrusted jewel bronze kit. Bake the piece again in the preheated 230 degree oven for ten more minutes allowing the piece to cool before handling.


STAEDTLER fimo clay is great for many reasons. I really appreciate that I can use a nail file or some sand paper to clean up any rough edges on pieces after they are baked. I can also use a drill to make holes in a piece for hanging after the piece has been cured hard. I used a very fine drill bit to make a hole in either side of the crown for hanging with jump rings.


Add some bling with rhinestones and super glue.


Attach to a chain with some accent crystals using jump rings.


Don't forget to join this site by clicking the link at the very bottom of this page and leave a comment on this post for a chance to win this wonderful STAEDTLER Sweet Summer Giveaway collection at the end of the week.
Giveaway open to residents of Canada and the US only.

GIVEAWAY CLOSED!

 The “Sweet Summer” Giveaway includes the following:


Visit the other Blog Hop artists by following the links below for a chance to win a Stampendous gift too!

Monday - 


Friday, May 17, 2013

STAEDTLER, Stampendous Blog Hop, Giveaway, Bonanza!

So.....
This is going to be fun!

Next week our own STAEDTLER design team is linking up with the Stampendous creative wizards to take part in something called a Blog Hop.....


I've never had the good fortune to see one of these Blog Hops....
I hear tell that they are pretty spectacular and this one will have so many new projects by so many designers I'm overwhelmed with anticipation.

I have five product merged projects ready to be posted next week with full picture tutorials.
Soooooo excited to share!


Each STAEDTLER design team member will be GIVING AWAY one of these "Sweet Summer" packages to a lucky winner at the end of the week.
I'll post more about how you can be included in the GIVE AWAY next week.

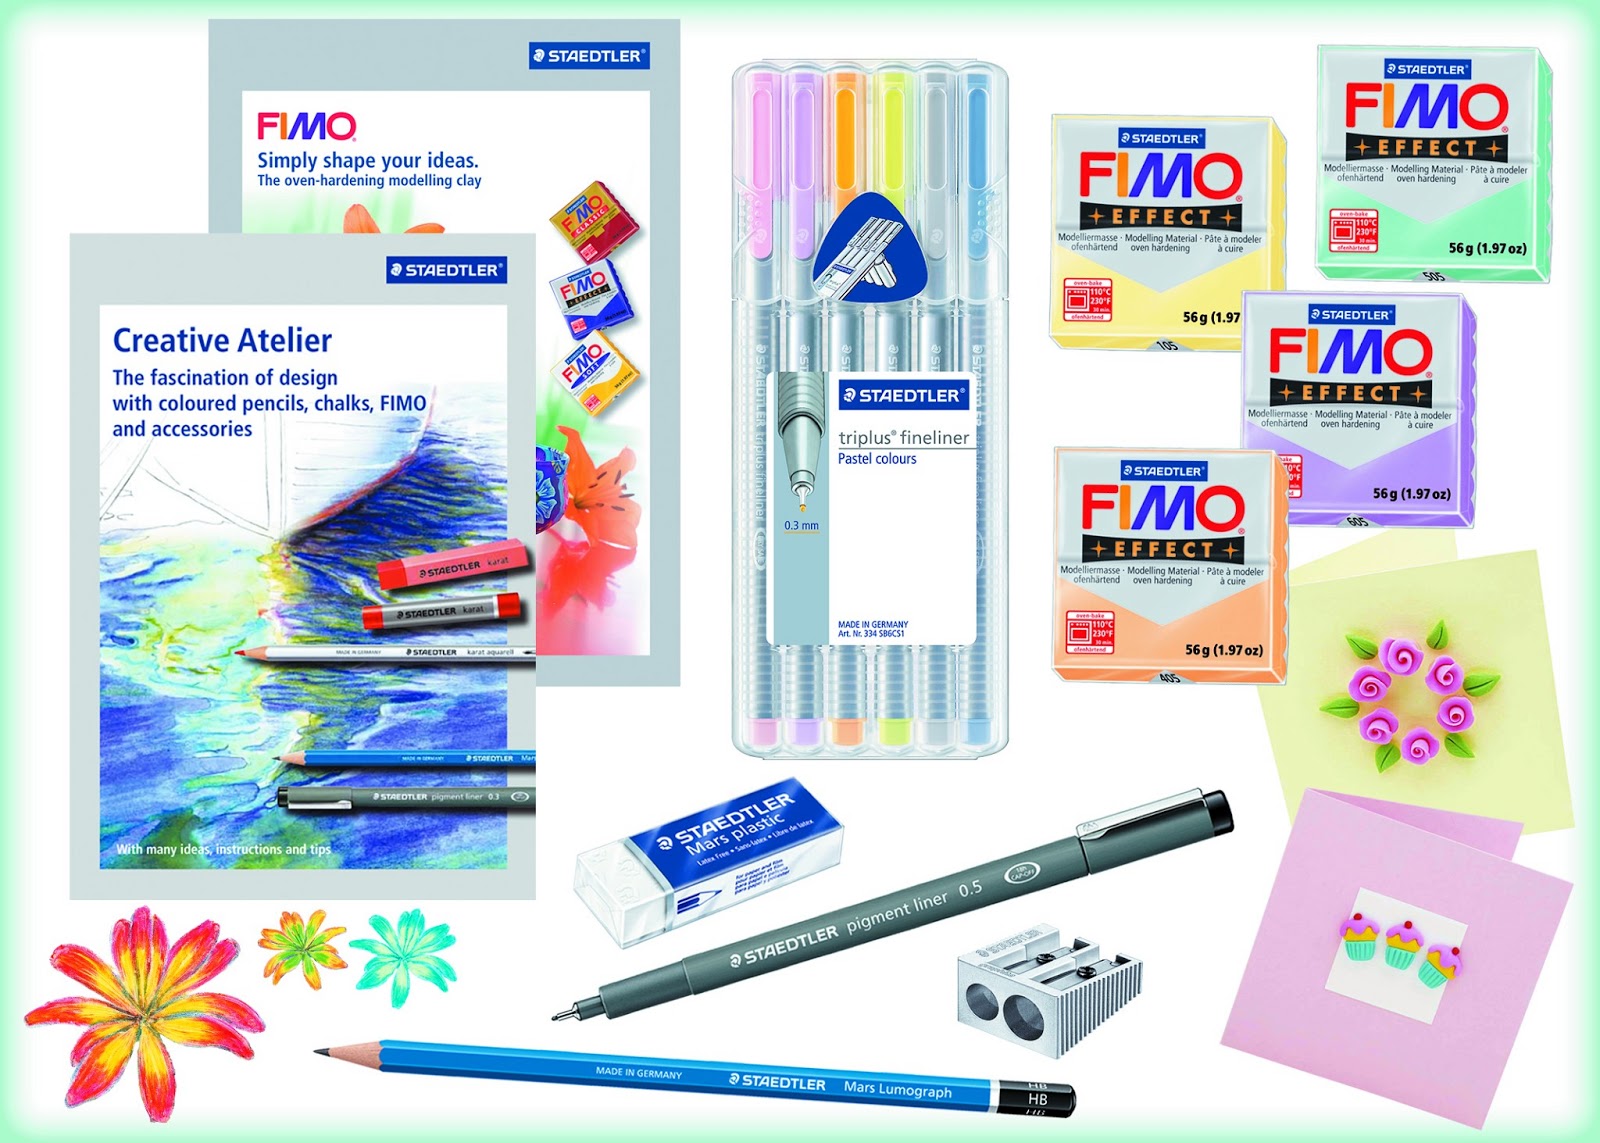
 The “Sweet Summer” Giveaway includes the following:


Stampendous will be giving away a prize a day. They will randomly choose a winner from one of the comments left on the designers who are participating on that given day.
I'll post all the links to the other design blogs so you can have more chances to win by commenting on all the new posts as they are published.

I can't wait to see all the new projects!!!


Tuesday, May 7, 2013

Tea Time with Tinkles... Just in Time for Mother's Day!

I used the beads from Five Sisters beads on ETSY. I'm in love with her beads.


I mixed plain old white glue and brown acrylic craft paint together and used a toothpick to fill the cups. I gave them a good tap on the table to make sure there were no trapped air bubbles and let them dry for a couple days.


The earrings. I used the little belly dancing bells I bought from gemplus 24 on ETSY. They tinkle very softly.


I added a cup to the bracelet......


and a cup to the necklace.

There now....
Someone will be ready for a tea party!

Hope you all have a happy mother's day!


Wednesday, May 1, 2013

Designing Our Own Fabric


Maggs just celebrated her 19th birthday!!!
We always try to get her gifts that are unique and when I saw her drawing of this robot. I knew just what I had to do.

I used SPOONFLOWER to create this fabulous robot fabric designed by Maggie! I altered the colours slightly and made the robots smaller. It was very easy and there are loads of instructions and design suggestions allong the way to help out first timers like me. I ordered two yards of the least expensive fabric because it was our first time and I was chicken, but it's really really terrific! I can't wait until she tells me what she wants to make with it.
I hope it's a peter pan collar blouse!!!!

Saturday, April 27, 2013

Drilled Layers Pendant in PolymerCafe Magazine!!!

I'm honored to say I've been published in PolymerCafe Magazine again this month.

It's another spectacular issue!
My project is something that's been jangling around in my brain for years. It's loads of fun and has endless possibilities with colour variants and drill bit shapes and sizes. I've eve played with the pendant shape. 
I also must say I'm a little envious of the studio focus in this issue!


Thursday, April 25, 2013

Doodling Some Shirt Designs

I've been planning some sewing projects to boost up my meager wardrobe.
I'm planning to make a few Peter Pan collared blouses. (Why do they call it a Peter Pan collar? I don't think I've ever seen him wearing one....)

I sketched out a simple blouse design with my trusty STAEDTLER marsgraphic jr marker set and scanned it into my computer. I layered the sketch onto some fabric ideas so I could keep track of what I'm thinking about making. 
I love to use this technique for trying out ideas before I actually put the work into making the piece. It gives me a feel for how things will look before I go ahead and commit to a design.

They are so helpful!

Do you have tricks to help you make decisions before you sew?
I'd love to hear your ideas.

Sunday, April 21, 2013

Some Things.

We've suddenly been swamped with spring time home repairs and spruce ups. Improvements are coming along pretty well now. Hope to have things squared away by summer so we can enjoy doing nothing for a bit.


We have had a yard full of these guys. They seem very angry about the snow this weekend. They keep looking in the windows and screaming at us. I'm a little bit worried....


Made some more of our Quinoa salad for energy. Love this stuff. Never get tired of it.
I made this batch with just quinoa, I didn't add any couscous or other grains. I did add some broad beans and basil to the mix.

Hope you're having a great spring weekend too!

Wednesday, April 17, 2013

Cabbage Rose Nail Art

Spring is finally here!!!
Decided to celebrate with some happy nail art.

I used all Joe Fresh colours to make this design but any medium grey base will do.
I made white blotches and while it was still wet I swirled a peachy pink into it with my stylus tool and voila.... I had roses. I added some two toned green/turquoise leaves and a couple layers of clear coat and I was done. I'm diggin' the peachy pink lately....
Pretty girly of me huh?

Wednesday, April 10, 2013

New Fimo Jewelry and Filters

 I've been working on some new pieces and playing with some of the filters available on PicMonkey.


I made these beads with STAEDTLER fimo and I used beads from Five Sisters Beads on ETSY to glam them up a bit.


I'm trying to decide if I like using the filters or not. I think they might take away from the look of the pieces. I think a plain old clean up edit and crop would do the photos more justice.
What do you folks think?
Do you like jazzed up pictures of projects, or just clear plain old photos?
I think I change my mind on the subject every day.