Wednesday, May 22, 2013

Blue Glitter and Embossing Powder Meet Translucent Fimo

The Sweet Summer Blog Hop
With 
Continues!


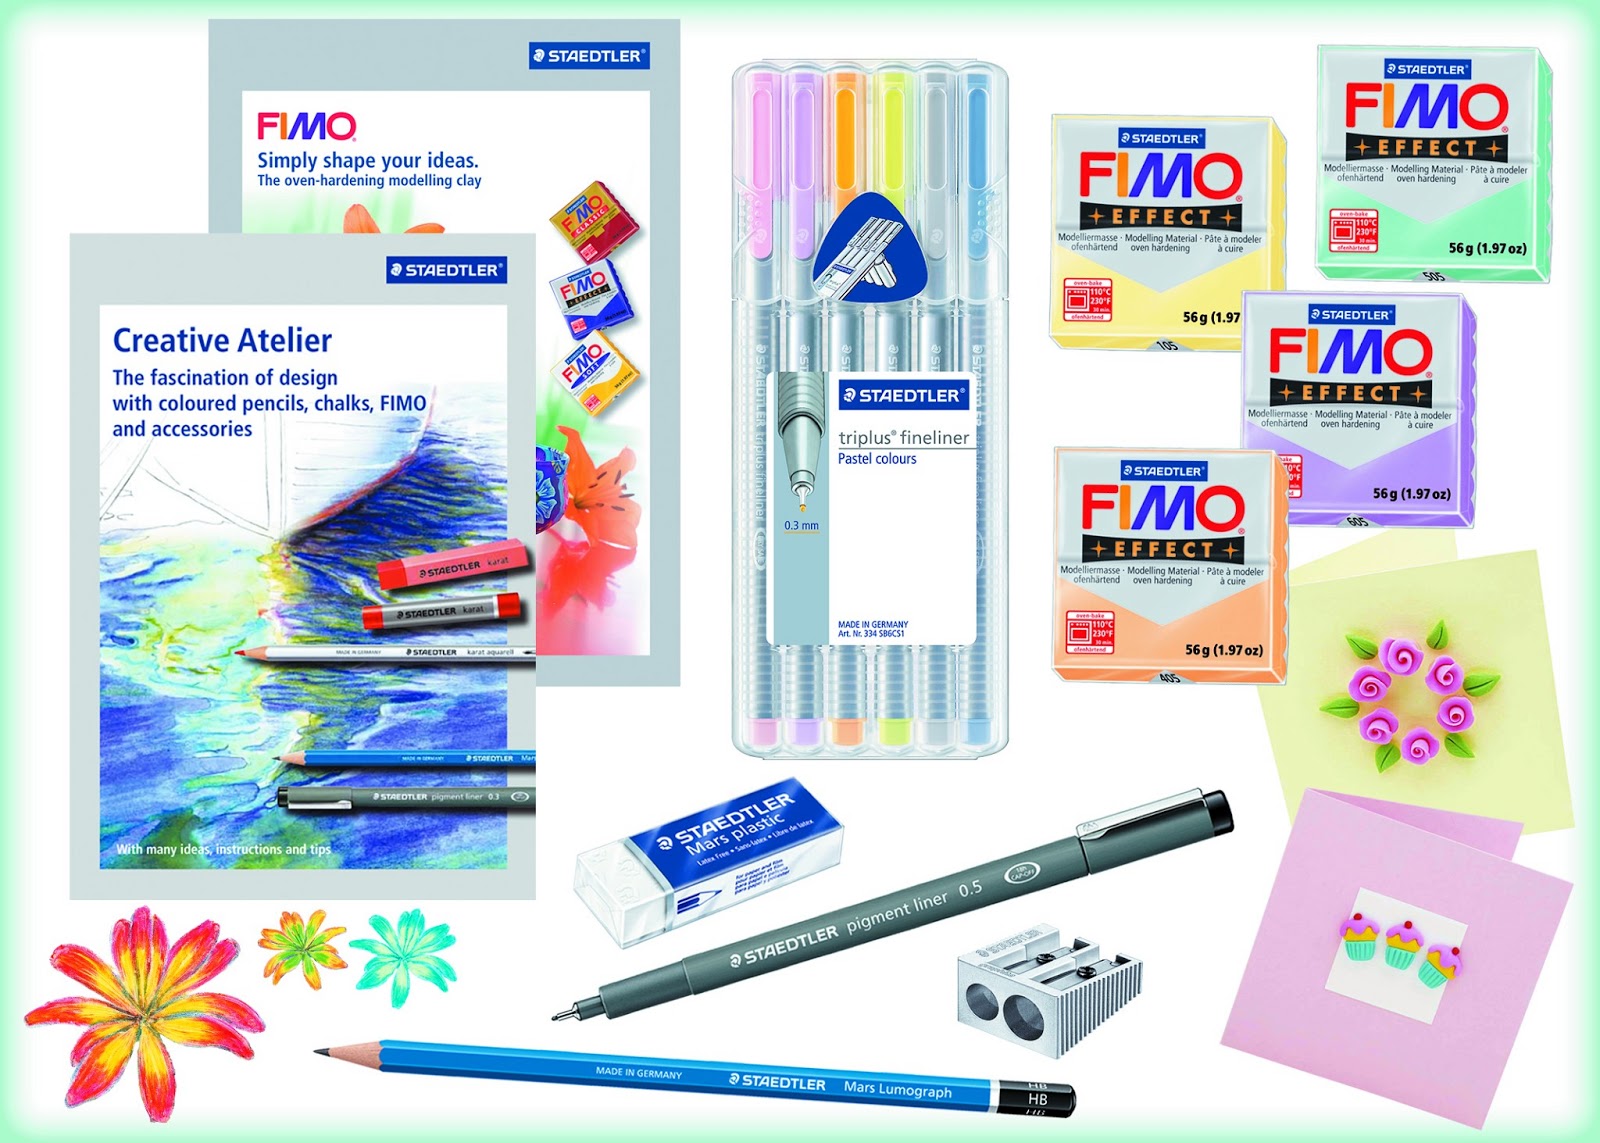
Products used to make this project:

Jewelry findings, headpins, lobster claw, chain, jump-rings, 20 gauge wire, earring wires.......

Tools you need to reproduce this project:

Polymer clay rolling pin
Small circle cutters (mine are a 3/4 inch and a 1 inch)
Three in one pliers or... double round nose, flat and wire cutter pliers
Clay cutting blade
Parchment paper
Round tooth picks
Block of styrofoam
Soft round paintbrush
Plastic sandwich bag


Roll out the STAEDTLER fimo effect translucent clay to 1/4 inch thick and sprinkle the glitter and embossing powders onto the flattened clay sheet.


These glitters and embossing powders are gorgeous! I want to try them all mixed with my favorite STAEDTLER translucent clay.


Fold and re-roll the glitter into the clay over and over until it's dispersed throughout the clay evenly.


Sprinkle some Stampendous glass glitter onto the mixed glitter clay and re-roll and fold the clay again until you're happy with the mix.


Use the sandwich bag plastic to cover the mixed clay sheet and push the round clay cutter into the clay to make smooth edged rounded discs.


Sandwich wire between two of the smoothed mixed clay discs and seal the edge seams by gently smudging with your fingertips. The wire will make a hole for stringing the bead.


I sprinkled some glittery embossing powder onto one edge of each bead. I couldn't resist.


I rolled the extra clay into little balls and skewered onto a piece of wire. I baked all the beads in a preheated 230 degree oven for 20 minutes and allowed them to cool off before handling.


I removed the beads from the baking wire and put each bead onto the end of a toothpick and dipped them into the STAEDTLER gloss varnish.


I poked the other end of each toothpick into a large piece of styrofoam to dry. I came back after a few minutes and dabbed off the extra varnish drips.


After the beads are dry, load each onto a decorative head pin and make an eye using the three in one pliers.
Follow this tutorial if you need it.


These beads turned out spectacularly!
I love the STAEDTLER fimo effect translucent clay as a base for these glitters.


I added some chain to a couple ear hooks and linked some round beads evenly to these chains with jump rings to make some sweet dangle earrings.


I really love these beads!!!


I added a bead and a lobster claw to each end of a 20 inch length of silver coloured chain to make a necklace.


I hung the beads from the chain at even intervals. I started in the middle of the chain with the largest bead.


Don't forget to join this site by clicking the link at the very bottom of this page and leave a comment on this post for a chance to win this wonderful STAEDTLER Sweet Summer Giveaway collection at the end of the week.
Giveaway open to residents of Canada and the US only.


GIVEAWAY CLOSED!

 The “Sweet Summer” Giveaway includes the following:


Visit the other Blog Hop artists by following the links below for a chance to win a Stampendous gift too!

Visit and leave comments on this Wednesday's Blog hop posts for a chance to win even more:


Tuesday, May 21, 2013

Black Bird Beads

Another project for the Sweet Summer Blog Hop with
I love how the dark STAEDTLER fimo shows off the Stampendous glitter in this piece.
Don't forget to join this blog and leave a comment on this post for your chance to win.


To complete this project you will need:
Stampendous Encrusted Teal Jewel kit embossing powders and glitters
Opaque blue ink pad
Rhinestones
Super glue
Silver coloured jewelry findings, chain, jump rings, lobster claw, head pins, silver coloured 22 gauge wire.

Tools you'll need to complete this project:
Home oven
Parchment paper
Water in a spray bottle
Rolling pin for clay use only
Craft knife
1 inch round clay cutter
Pack of round toothpicks
Three in one jewelry pliers, double round nose, flat and wire cutters.


Roll out some STAEDTLER fimo soft black clay to about 1/4 inch thick and sprinkle with an assortment of Stampendous glitters and embossing powders.


Roll over the glittered clay with the clay roller.


Use the round clay cutter to cut out circles from the pressed and glittered clay.


Sandwich a piece of wire between two glittered circles pressing firmly to create a solid bead. Rub the edge seam with your fingertips to seal the join.


I dusted one side of each bead with more embossing powder.


I made small ball beads by rolling some black clay balls in the excess glitter and embossing powder. Then I poked a hole in each bead with the wire.


I made a 1 1/2 by 2 inch flat bead poking a hole through the top of the piece from side to side. I loaded one of the teeny bird stamps found on the  Stampendous Charm Set Perfectly Clear Stamp Set with an opaque blue ink and pressed it into the clay bead to make an impression on the beads front.


I added some turquoise detail embossing powder to the stamped image and brushed away any surface powder.


I loaded one edge of the focal bead with some aged teal embossing powder and baked the beads on a 230 degree oven for 20 minutes on a parchment paper lined baking sheet. Allow the beads to cool completely before handling.


Put each bead onto the end of a toothpick and dip into the STAEDTLER fimo gloss varnish. Poke the other end of each toothpick into a large piece of styrofoam to let the beads dry. Check in a few minutes to dab away any varnish drips.


Here's a tutorial on how I make my head pins and eye pins to make this piece.


Don't forget to join this site by clicking the link at the very bottom of this page and leave a comment on this post for a chance to win this wonderful STAEDTLER Sweet Summer Giveaway collection at the end of the week.
Giveaway open to residents of Canada and the US only.

GIVEAWAY CLOSED!

 The “Sweet Summer” Giveaway includes the following:


Visit and leave comments on this Tuesday's Blog hop posts for a chance to win even more:


Monday, May 20, 2013

Fit for a Queen

The STAEDTLER, Stampendous blog hop begins!!!


To complete this project you will need:
Stampendous Encrusted Teal Jewel kit embossing powders and glitters
Clear ink pad
Rhinestones
Super glue
Copper jewelry findings, chain, jump rings, lobster claw, copper head pins, copper 22 gauge wire, crystal faceted beads, 

Tools you'll need to complete this project:
Home oven
Parchment paper
Water in a spray bottle
Rolling pin for clay use only
Craft knife
Medium grit nail file
Drill with fine drill bit
Three in one jewelry pliers, double round nose, flat and wire cutters.

Open your STAEDTLER fimo effect translucent clay and working on a parchment paper protected surface, knead the clay until it's soft enough to roll out to a 1/4 inch thick sheet.


Open your Stampendous crown stamp and mount the crown of your choice onto the clear block. Mist the rolled out clay with the water bottle and press the stamp into the clay until you get a clear impression. The water will act as a release agent and help the stamp come away from the clay cleanly.


Use the craft blade to cut away the clay around the stamped image.


Keep the edges as neat as you can. Use a toothpick to help clean up any tough bits if you need to. Bake the piece in a preheated 230 degree oven for 20 minutes on a parchment lined baking sheet. Let the piece cool before moving to the next step.


Load the crown stamp with clear ink and stamp onto the baked clay crown. Load the inked crown with the aged teal embossing powder from the Stampendous encrusted jewel teal kit. Shake off excess powder onto a clean sheet of paper and return the extra powder to the container. Bake the piece in the preheated 230 degree oven for another ten minutes and allow it to cool before handling.


I sanded the surface of the piece with a medium grit nail file to bring out the detail of the stamp and distress the embossing powder,

Re-stamp the piece with clear ink. I made my new image slightly to the left of the old image. Load the piece with aged copper embossing powder from the Stampendous encrusted jewel bronze kit. Bake the piece again in the preheated 230 degree oven for ten more minutes allowing the piece to cool before handling.


STAEDTLER fimo clay is great for many reasons. I really appreciate that I can use a nail file or some sand paper to clean up any rough edges on pieces after they are baked. I can also use a drill to make holes in a piece for hanging after the piece has been cured hard. I used a very fine drill bit to make a hole in either side of the crown for hanging with jump rings.


Add some bling with rhinestones and super glue.


Attach to a chain with some accent crystals using jump rings.


Don't forget to join this site by clicking the link at the very bottom of this page and leave a comment on this post for a chance to win this wonderful STAEDTLER Sweet Summer Giveaway collection at the end of the week.
Giveaway open to residents of Canada and the US only.

GIVEAWAY CLOSED!

 The “Sweet Summer” Giveaway includes the following:


Visit the other Blog Hop artists by following the links below for a chance to win a Stampendous gift too!

Monday - 


Friday, May 17, 2013

STAEDTLER, Stampendous Blog Hop, Giveaway, Bonanza!

So.....
This is going to be fun!

Next week our own STAEDTLER design team is linking up with the Stampendous creative wizards to take part in something called a Blog Hop.....


I've never had the good fortune to see one of these Blog Hops....
I hear tell that they are pretty spectacular and this one will have so many new projects by so many designers I'm overwhelmed with anticipation.

I have five product merged projects ready to be posted next week with full picture tutorials.
Soooooo excited to share!


Each STAEDTLER design team member will be GIVING AWAY one of these "Sweet Summer" packages to a lucky winner at the end of the week.
I'll post more about how you can be included in the GIVE AWAY next week.

 The “Sweet Summer” Giveaway includes the following:


Stampendous will be giving away a prize a day. They will randomly choose a winner from one of the comments left on the designers who are participating on that given day.
I'll post all the links to the other design blogs so you can have more chances to win by commenting on all the new posts as they are published.

I can't wait to see all the new projects!!!


Tuesday, May 7, 2013

Tea Time with Tinkles... Just in Time for Mother's Day!

I used the beads from Five Sisters beads on ETSY. I'm in love with her beads.


I mixed plain old white glue and brown acrylic craft paint together and used a toothpick to fill the cups. I gave them a good tap on the table to make sure there were no trapped air bubbles and let them dry for a couple days.


The earrings. I used the little belly dancing bells I bought from gemplus 24 on ETSY. They tinkle very softly.


I added a cup to the bracelet......


and a cup to the necklace.

There now....
Someone will be ready for a tea party!

Hope you all have a happy mother's day!