
*Please read the important edit at the end of this post*

Before I start I want to make it clear that for the Pin Up Ghoul doll that appears on PolymerCafe's October 2011 cover I used mass produced store bought 14mm flat backed doll eyes. Folks have been letting me know that doll eyes are a little bit hard to find, so I decided to show you how easy it is to make your own.
Here we go!
Supplies needed to complete this project:
FIMO soft in white #0
FIMO effect translucent #014
Half a block of scrap clay to make molds and stamps
FIMO liquid
Acrylic paint in various eye shades
Iridescent acrylic paint
sculpting tools, knife, stylus or needle tool
fine paint brush, Heinz Jordan gold sable mini script liner
Large soft paintbrush for dusting the mold
Cornstarch or baby powder
Glass marbles or ball bearings in the same size diameter that you want your eyes
pencil
Medium grit sandpaper or nail file
Super glue
Acrylic or latex gloves
Non food use baking sheet and parchment paper
Oven
 Since we're working with white clay I'm taking extra precautions to keep the clay clean. I'm wearing gloves to keep the oil from my hands from staining the clay and I have protected the work surfaces with white parchment paper to cut down on anything getting in there and making the clay look dirty.
I mixed half a block of translucent FIMO soft with 1/6th of a block of FIMO soft white. Mix them thoroughly until there is no marbling and you have a consistent colour throughout. Roll the clay into a one cm thick worm, and set it aside.
 Soften some scrap clay and roll a worm larger than the marble you have chosen for the eye diameter. Mine are standard marbles and will produce an eye that is close to 14mm. Push the marble into the clay so that half of the marble is still exposed as shown.
Bake the clay with the marble in it for 15 minutes at 230 degrees F. Allow the piece to cool.
 Use the tip of a craft knife to gently pop the marble out of the newly made mold.
 Use a large soft paintbrush to dust the inside of the new mold with cornstarch or baby powder. This will act as a release agent.
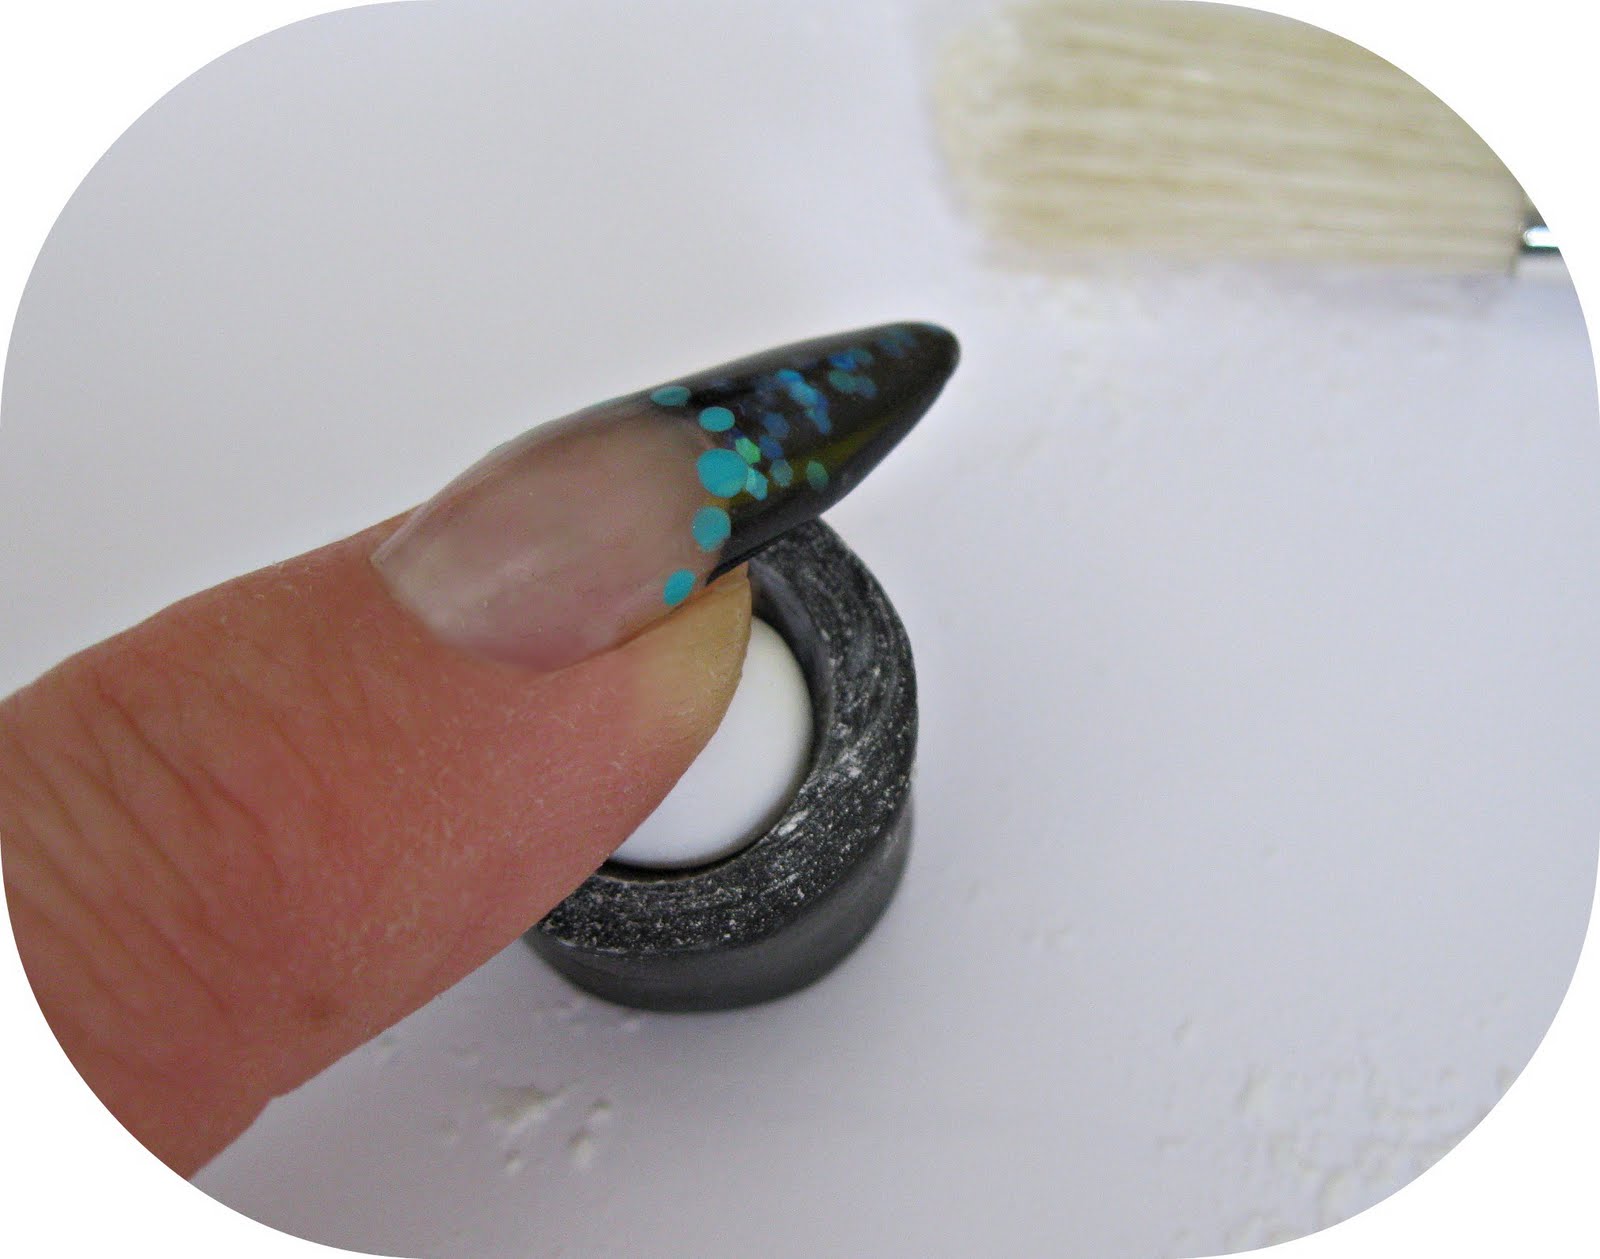 Cut your worm of mixed white clay into equal sections that are about one cm long. Roll each of these sections into a ball and push them one by one into the mold to shape them into half rounds.
 Use the tip of a craft knife to pop these half rounds out of the mold. Set them flat side down onto a piece of parchment paper and set them aside.
 Take a small amount of scrap clay and make a donut shape that is the size you wish your iris to be. Use a molded white half circle to help you determine the size. With a needle tool, stylus or a knitting needle (anything sharp and round) push a hole right through the middle of this iris shape to form a pupil. Make sure the hole is large enough. Bake for 15 minutes at 230 degrees F. Allow to cool.
 Super glue this baked iris donut to the eraser end of a pencil.
 Dip the iris donut into some cornstarch or baking powder and tap off the excess. Push the iris donut down onto the center of each unbaked eye half round. Coat and tap off extra cornstarch between stampings. Make sure that you are going an equal distance down into each eye. Bake the stamped half eye rounds for 10 minutes at 230 degrees F. allow to cool.
 I chose to use Golden artist grade acrylics for this project because they have a wide range of interference colours. These colours will make the shimmer in the eye colour that will help make them more glass like. Thin out the lightest colour with some water or some blending agent and fill in the indent of the iris. Thin out some darker colour and paint the outside edge of the iris. Bring some radiating lines of dark colour into the iris.
Paint some interference colour onto the iris in radiating lines. Allow them to dry completely.
 This is an idea of what we're going for. We want the outside edge of the eye to be a bit darker than the center and we want the lines to radiate from the outside edge to the center of each iris. Don't worry about any smudged paint at this point. We're going to clean it off after it dries.
 To remove unwanted paint from the surface of the eye white and to clean up the edge of the iris, rub the eyes onto a piece of sandpaper or a nail file. Dust off the eyes when your done.
 Dip your needle tool or stylus into black paint and coat the pupil of each eye with one drop of black paint. Let them dry well.
 Here are the eyes completed waiting to be flooded with liquid FIMO. Try to make sure you have good even pairs at this time. Fix anything you want to be fixed now.
 It's important to make sure you fill the eyes as close to the oven as possible. any bumps or jolts might make the liquid overflow the molded part of the eye and spill out over the white. Hold the liquid FIMO bottle upside down until the fluid slowly comes to the applicator tip. Don't shake the bottle to make this go faster, you'll just create bubbles. Fill each eye evenly with the same amount of liquid in each eye. Use a toothpick to remove any access liquid from an iris. Let them settle a bit before baking. Bake these filled eyes for ten minutes at 230 degrees F. Let them cool.Here is the result of all the hard work. A pair of workable matching eyes.
You can make many different sizes of molds and stamps for these eyes and it will help you have more evenly sized eyes.
I can't wait to use these guys!
Let me know how yours came out.
*EDIT*
September 26, 2011
Hey guys... just ran across this tutorial.....
http://mistymooncreations.blogspot.com/2010/10/glass-eyes-for-your-dolls-tutorial.html
It was posted about a year ago. It's dang near the exact same technique (without the molds and stamps) that I outline above. We have a few different tricks and tips between us, but she certainly uses the same familiar products. Aimee Jeffries has done a fabulous job explaining exactly how and why she used the products she did. She is an amazingly inventive artist and teacher with a super sense of humor. I bow to her excellent talents.
Great tutorial! I hope to be able to try it out soon. Thanks for making the effort for this great piece of help :-)
ReplyDeleteThanks bunches for saying so. I hope you'll post a link to some pics. I would LOVE to see what you come up with.
ReplyDeleteWill do so! Might take a while; not much time for crafting with a 7 month baby in the house ;-)
ReplyDeleteBest wishes!
Vee from Belgium
WOW! I'm so glad I found this! Thank you!!! x
ReplyDeleteIt looks so good, I am going to try this!
ReplyDeleteThanks for the detailed tutorial!
Thanks!
ReplyDeleteLet us know how your eyes turn out!
I'm thinking about doing a video tutorial for these. Would it help?
I like both tutorials. Your tut is more up my ally. When you do find the eyes online they are sooo very costly. And some of us have most of this stuff lying around. Except the liquid sculpty... something I am off to fix. TY again.
ReplyDeleteI love this! I use the exact same way of making eyes for cakes, only I use fondant for the white eyeball, food color for the inside-the same technique of light & dark coloring, & piping gel for filling! I also pass them out at Halloween, swimming around in a little thinned strawberry jam at the last moment for the ooey-gooey effect, & the kids love eating them! lol
ReplyDeleteBlwilley!
ReplyDeleteI LOVE IT!!!
So much fun!
Thanks for sharing.
:)
Hi surely if you super glue to the end of a pencil rubber how can you get the iris off ? Awaiting your response 😋
ReplyDeleteHello Kathleen,
ReplyDeleteThe iris that has been glued to the eraser end of the pencil is used as a mold to indent the shape of the iris into the eye blank. The iris is never removed from the pencil and is used as a tool to create many eyes. Hope this helps.
Hi! Just wondering how you attach these to projects? I'd assume they can't be rebaked for the time it would take to cure a bigger thicker piece? Thanks in advanced for the help!!
ReplyDeleteHey there Amanda!
DeleteThe pre-baked eyes CAN be re-baked right inside the newly sculpted head.
Hope this is good news!
Can't wait to see what you come up with!
Happy making!!!